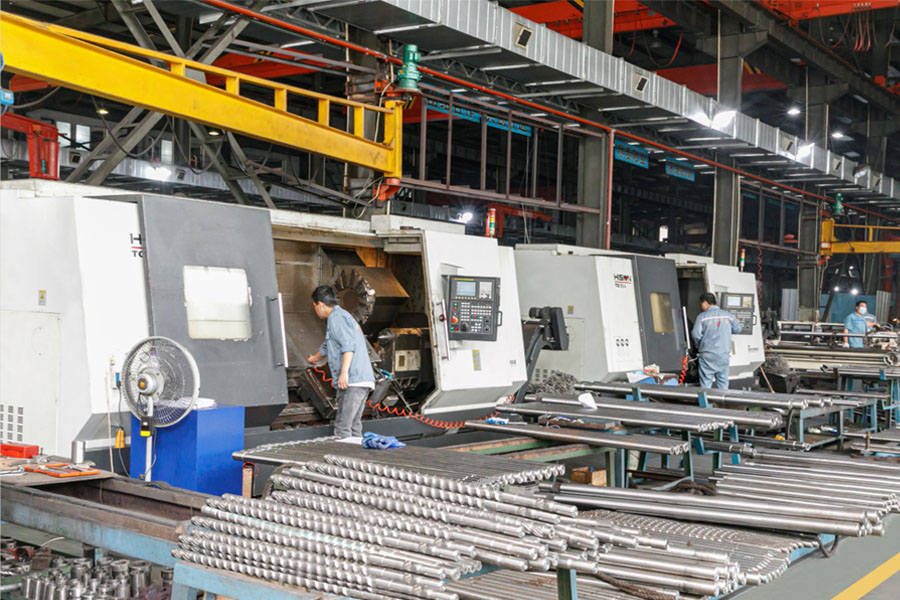
We provide custom solutions to all our customers and offer complete technical advices that your company can take advantage of.
The wear of the screw and barrel is a common phenomenon in the extrusion molding process, which directly affects the quality and output of the product. Timely and accurate measurement of the degree of wear is of great significance for equipment maintenance and production planning.
Measurement method
Direct measurement method
Vernier caliper measurement:
Measure the screw diameter: Select the position with the smallest screw diameter for measurement, compare the initial data, and obtain the wear amount.
Measure the inner diameter of the barrel: Select the position with the largest inner diameter of the barrel for measurement, compare the initial data, and obtain the wear amount.
Micrometer measurement:
Suitable for measuring small gaps or uneven surfaces.
Three-coordinate measuring machine:
High precision, can perform comprehensive three-dimensional measurement of the screw and barrel, and obtain detailed wear data.
Indirect measurement method
Pressure measurement:
By measuring the extrusion pressure, the degree of wear of the screw and barrel can be indirectly reflected. When the wear is severe, the extrusion pressure will increase.
Flow measurement:
Measure the extrusion volume under the same conditions. If the output decreases, it means that the wear of the screw and barrel leads to increased leakage.
Temperature measurement:
Measure the temperature distribution of the screw and barrel. If the temperature is abnormal, it may be related to the change of heat transfer caused by wear.
Online monitoring method
Vibration monitoring:
By installing a vibration sensor, monitor the vibration signal of the equipment, analyze the changes in vibration frequency and amplitude, and judge the wear condition.
Acoustic emission monitoring:
Use the acoustic emission sensor to monitor the acoustic emission signal generated by the equipment, analyze the signal characteristics, and judge the wear condition.
Infrared thermal imaging:
Use the infrared thermal imager to observe the surface temperature distribution of the equipment and find local overheating areas, which may be related to frictional heat generated by wear.
Factors affecting the measurement results
Measurement position: The degree of wear at different positions is different, and representative positions should be selected for measurement.
Measuring tools: The accuracy and calibration of the measuring tools will affect the accuracy of the measurement results.
Measuring environment: Environmental factors such as temperature and humidity will affect the measurement results, and the measurement should be carried out in a stable environment.
Operator: The experience and technical level of the operator will also affect the measurement results.
Precautions
Regular measurement: Establish a regular measurement system to grasp the wear condition in time and perform maintenance.
Record data: Record detailed data of each measurement for comparative analysis.
Comprehensive analysis: Combine multiple measurement methods to comprehensively analyze the wear and tear conditions to draw more accurate conclusions.
Develop maintenance plans: Develop reasonable maintenance plans based on the wear and tear conditions to extend the service life of the equipment.


